There are a lot of tutorials out there that explain how you remove people with Adobe Photoshop, but that’s only a very small part on how you can improve your landscape or architecture photos by removing the tourists out of them. Especially when there are hundreds of people it’s a huge amount of work to use the stamp tool, so we will look at techniques that will make your photographer life a little bit easier.
Before the shot
Let’s say you are planning to visit the popular Cloud Gate in Chicago and you want to take your photo without all those people in front of your lens. You may try to stamp them out, but there is one easy and probably obvious trick No. 1: Be there at uncomfortable times.
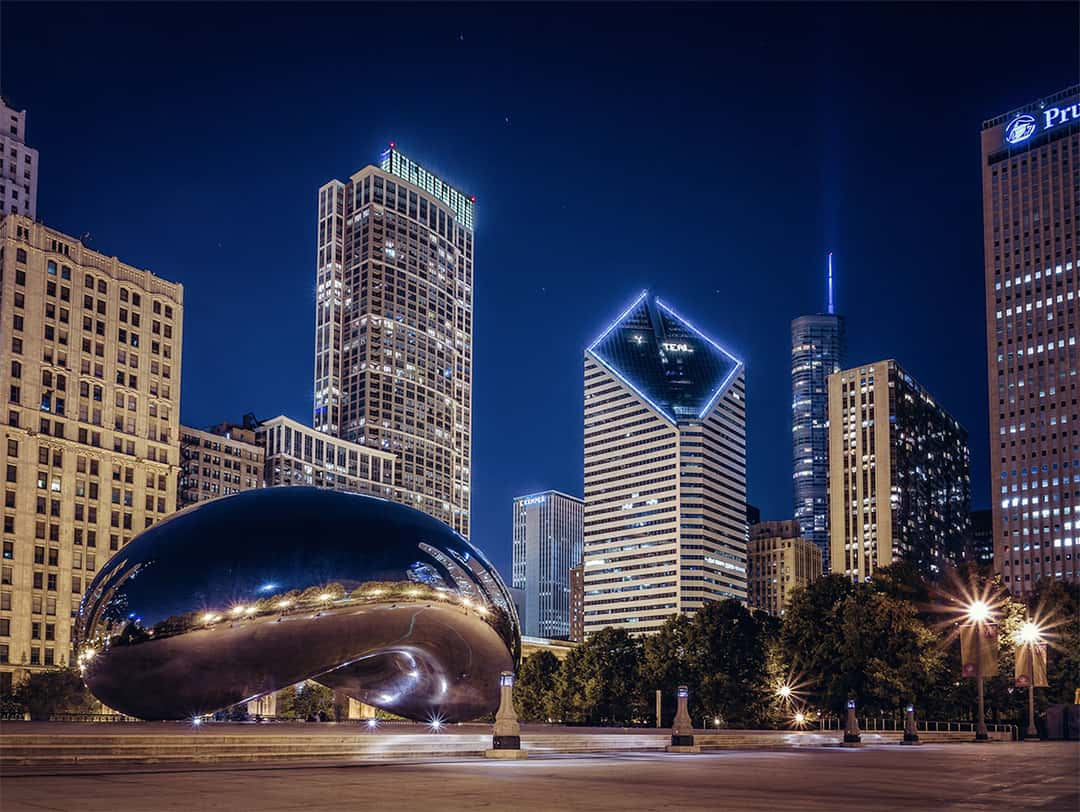
The area around the Cloud Gate in Chicago is usually full of people and around 100 or even more ran through this photo. I should have been there during an uncomfortable time, which would have saved me hours of work in post processing.
During the last few months I saw so many posts on platforms like 9gag.com that show the difference between your expectations of a spot and the reality, where beautifully photographed places around the world are full of tourists, all of them armed with their selfie-stick to get a blurred image of themselves standing in a cluster of people. Although this may be true for the usual times when the buses arrive after all of them had their breakfast in the hotel, it should be your passion that’s pushing you out of your comfort zone. Just get there right before sunrise when others are still sleeping. You might be impressed how calm and beautiful those places are during this time and how easy it is to get your photos without people and with the best available light during blue until golden hour. While standing up very early works in the summer, it’s being at the spot during very cold or even rainy days in the winter or at any other time when it might be uncomfortable to be there.
During the shot
There is another great way to remove people from your photos without using Adobe Photoshop or anything like that by using a technique that you already use, for example to soften water or to create light trails within your photos. Trick No. 2: Use long exposures to get rid of moving people.
To make use of the fact that human beings or animals are usually moving in front of your lens you just need a tripod, a strong ND-filter and a remote control. This gives your the opportunity to extend your exposure to maybe even multiple minutes during the day where moving people just disappear. You may not get rid of all of them, but this is a good starting point for the next tricks. Particularly places where tourists stay for a longer period of time or where a lot of them shove to see something special are usually still messy when you just use longer exposures, but you already shrinked the amount of work that needs to be done in post processing to these positions in your image.
The second opportunity you have is trick No. 3: Take multiple shots from the exact same position.
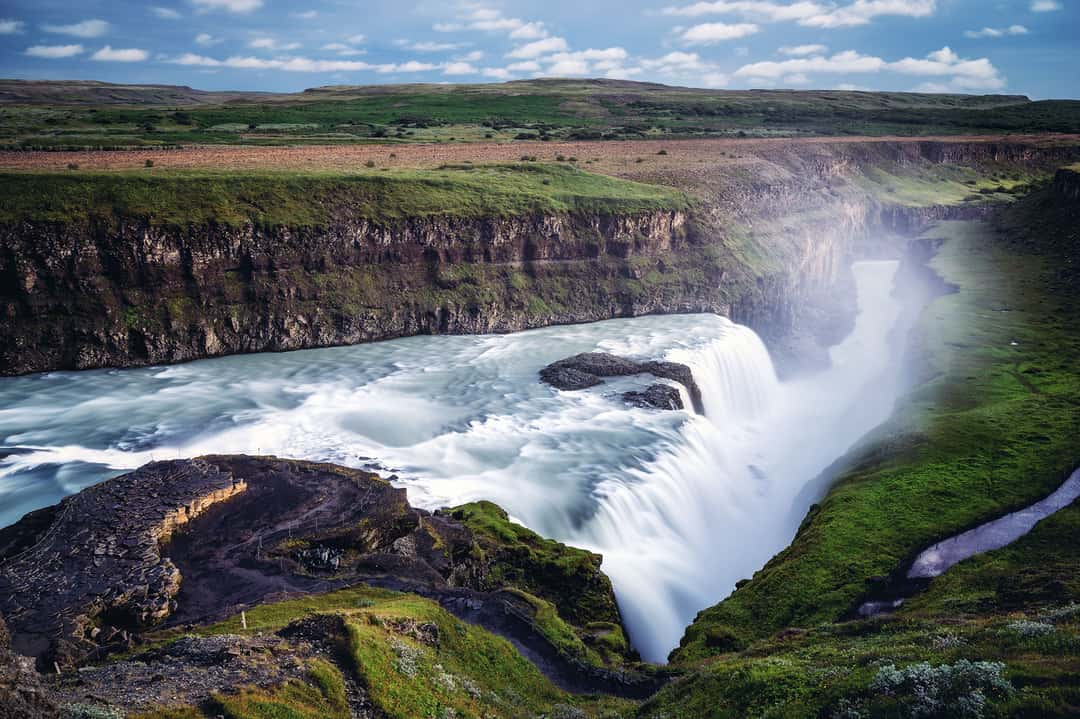
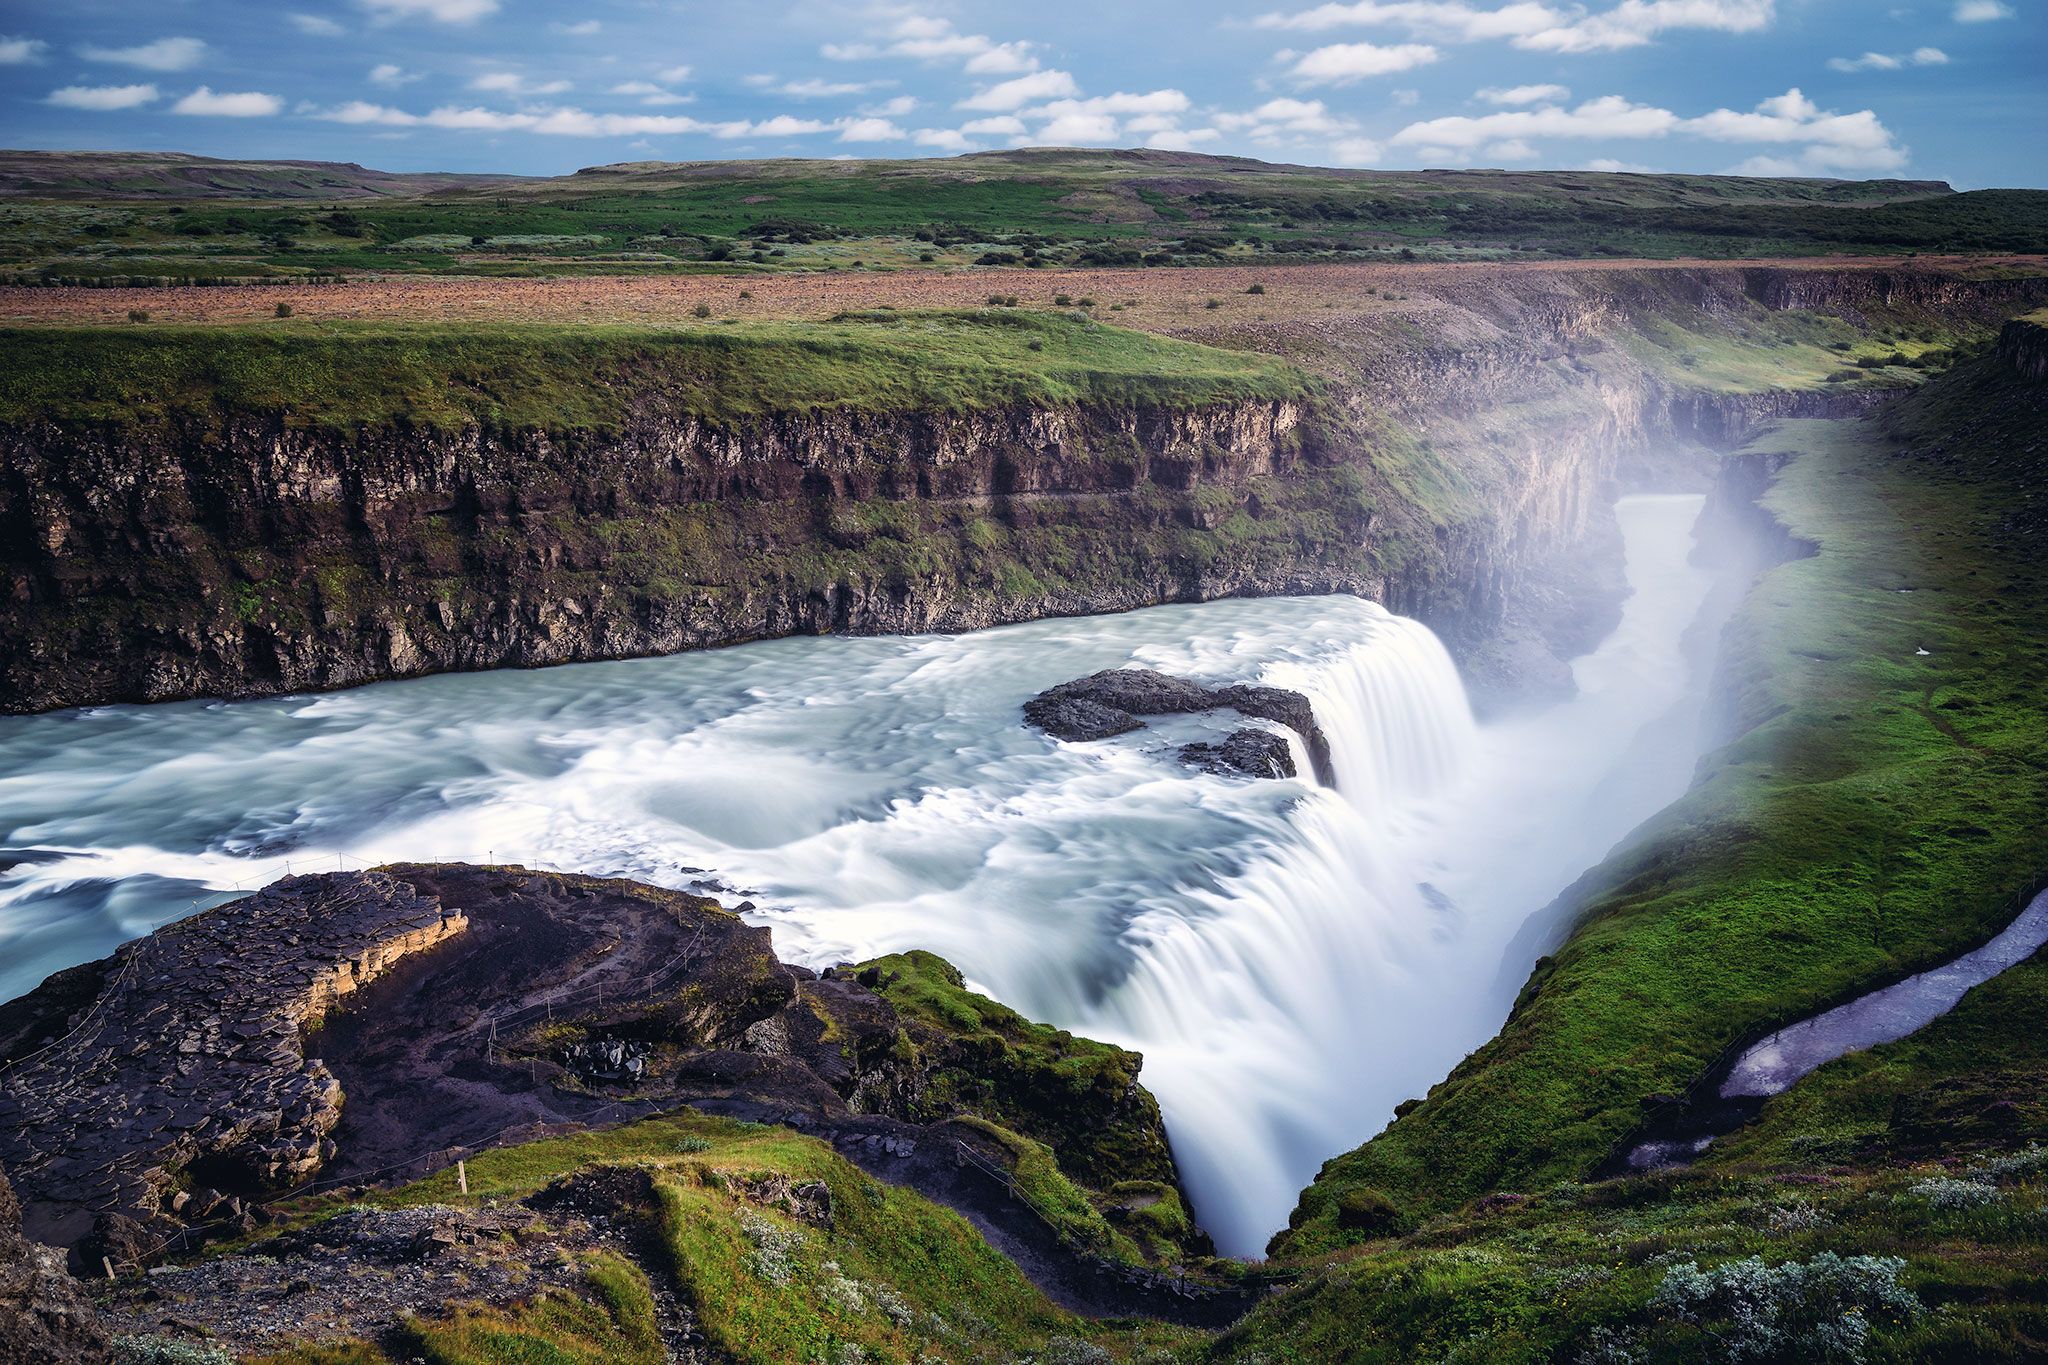
I used both tricks No. 2 & 3 to get rid of all the people that were visiting the amazing Gullfoss waterfall in Iceland.
The reason for that is similar to the previous trick and can be combined with each other. Lets say you have people moving in and out of a building you want to photograph. Removing them standing in front of the door means, that you would have to reconstruct something, which is currently hidden, in Photoshop afterwards. By taking the exact same shot in the second when there is nobody in front of the building makes it pretty easy for you to use the relevant part of this single image for your final composition. You just have to pay attention to the parts within your image that are important for you and hard to reconstruct later on. Of course you pretty often need a little bit of patience, but it can save a lot of time for the part of post processing your photos. Make sure though, that you are using the same settings on these images, resulting in nearly the same brightness, colors and sharpness to make the blending even easier.
If you took enough shots the final editing in Photoshop is pretty easy with the following steps:
- Open your photos as layers in Photoshop (if you are using Lightroom you can just select the images and right-click on them > Edit in > Open as layers in Photoshop.
- Make sure that they are 100% correctly aligned by selecting your layers and using the „Auto-Align Layers“-Tool in the Edit menu. You can leave your projection mode on „Auto“ and click OK.
- Group all layers by using Layer > Smart Objects > Convert to Smart Object.
- After your layers got stacked in one single Smart Object you can simply change the blend mode via Layer > Smart Objects > Stack Mode > Median, which combines the pixels of all layers by searching the ones that occur the most.
An alternative to this automatic method is to use masks when you have opened your images as layers in Photoshop.
Another technique that I am sometimes using is trick No. 4: Use another perspective and elements within your scene to hide people.
I know that this is pretty hard when you have a particular shot in mind, but pretty often it is possible to change the angle you are photographing your subject and to hide a lot of the people behind something in the foreground. This could be a wall, a bush or anything that still adds something to your scene without destroying your composition.
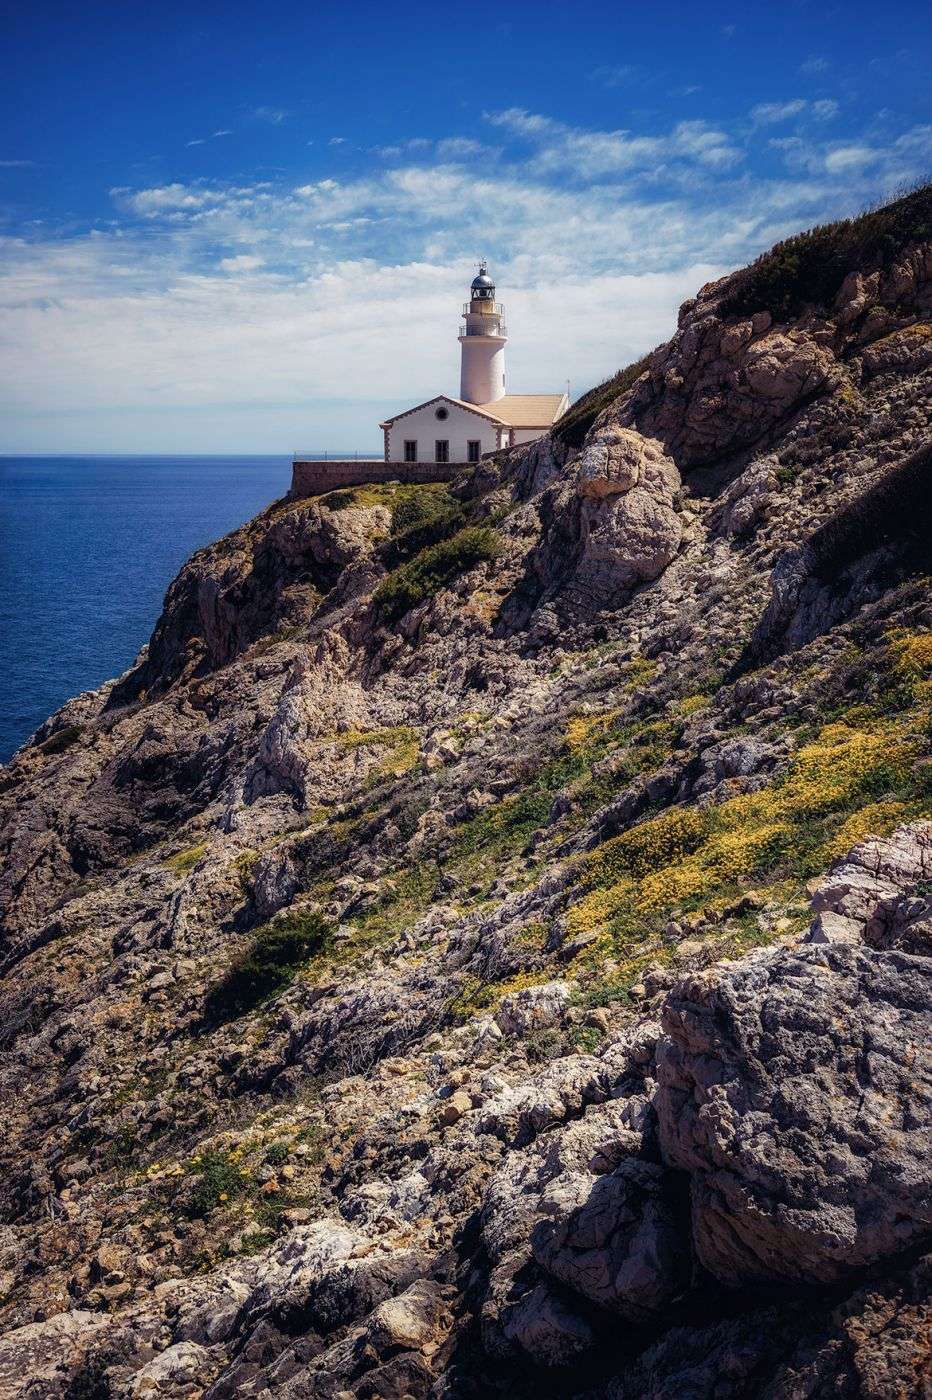
There were a lot of people standing right in front of this beautiful lighthouse at Punta de Capdepera, Mallorca. By simply changing the perspective all of them are hidden and the photo looks even better than my initial shot from the street.
After the shot
When you already did your best on the previous tips and there are still people in your scene it’s time to remove them in post processing, which should be a lot easier now since you already got rid of a lot of distractions during the photographing. There is still one great way you should try to save some time before you start to use the Clone Stamp Tool, which leads to trick No. 5: Try the "Content Aware Fill"-feature in Adobe Photoshop.
I am aware of the results of this technique, so that’s why I am saying "try" this feature. It may not produce perfect results, especially if the scene is pretty complex, but it’s again more than often a good point to start from when the tool already did the basic removal and you just need to take care of the seamless transitions. You can apply this step by just using the Lasso Tool to select anything you want to remove from your photo. Afterwards you use Edit > Fill > Contents: Content-Aware to let Photoshop fill the selected area automatically.
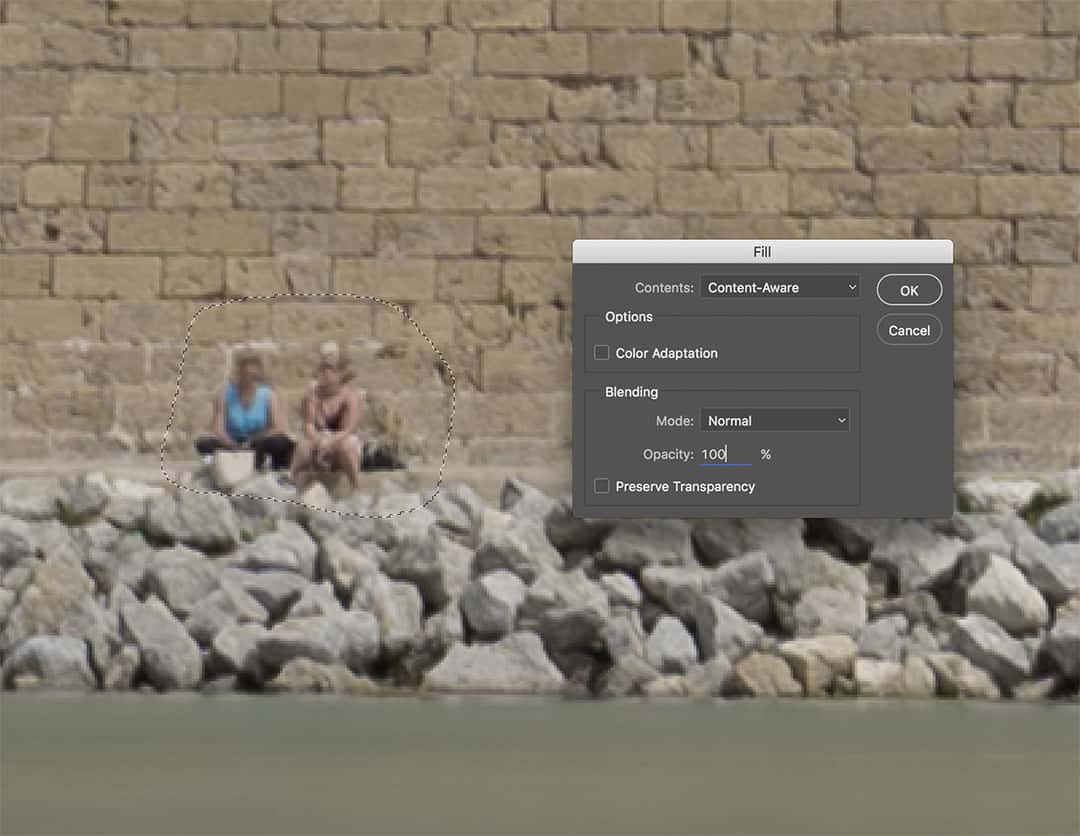
Using the Content-Aware feature of Photoshop can sometimes speed up your workflow.
If nothing helped it’s time for the Clone Stamp Tool or you may think of leaving some of the people within your photo, because this is also a great way to create a dimension, particularly when your subject is pretty big and the viewers need something to visually perceive the proportion.
In case you know even more tricks to remove people from your photos during the shot or in post processing via Adobe Photoshop or similar tools just let us know in the comments. As always we really appreciate your feedback!


Comments (2)