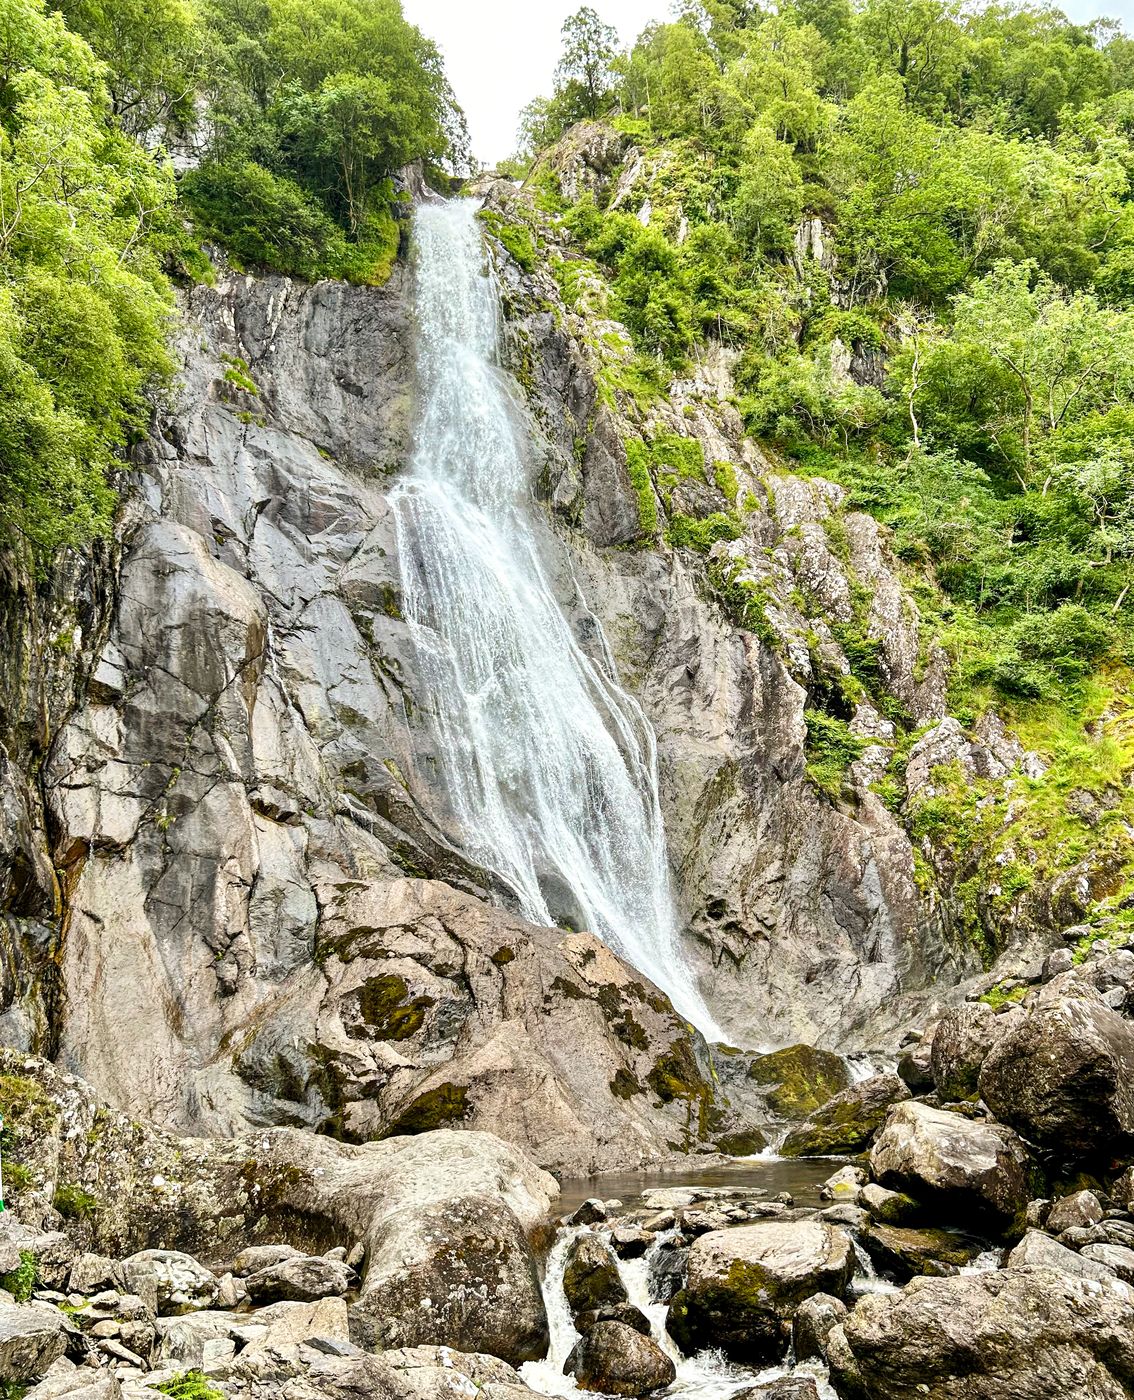

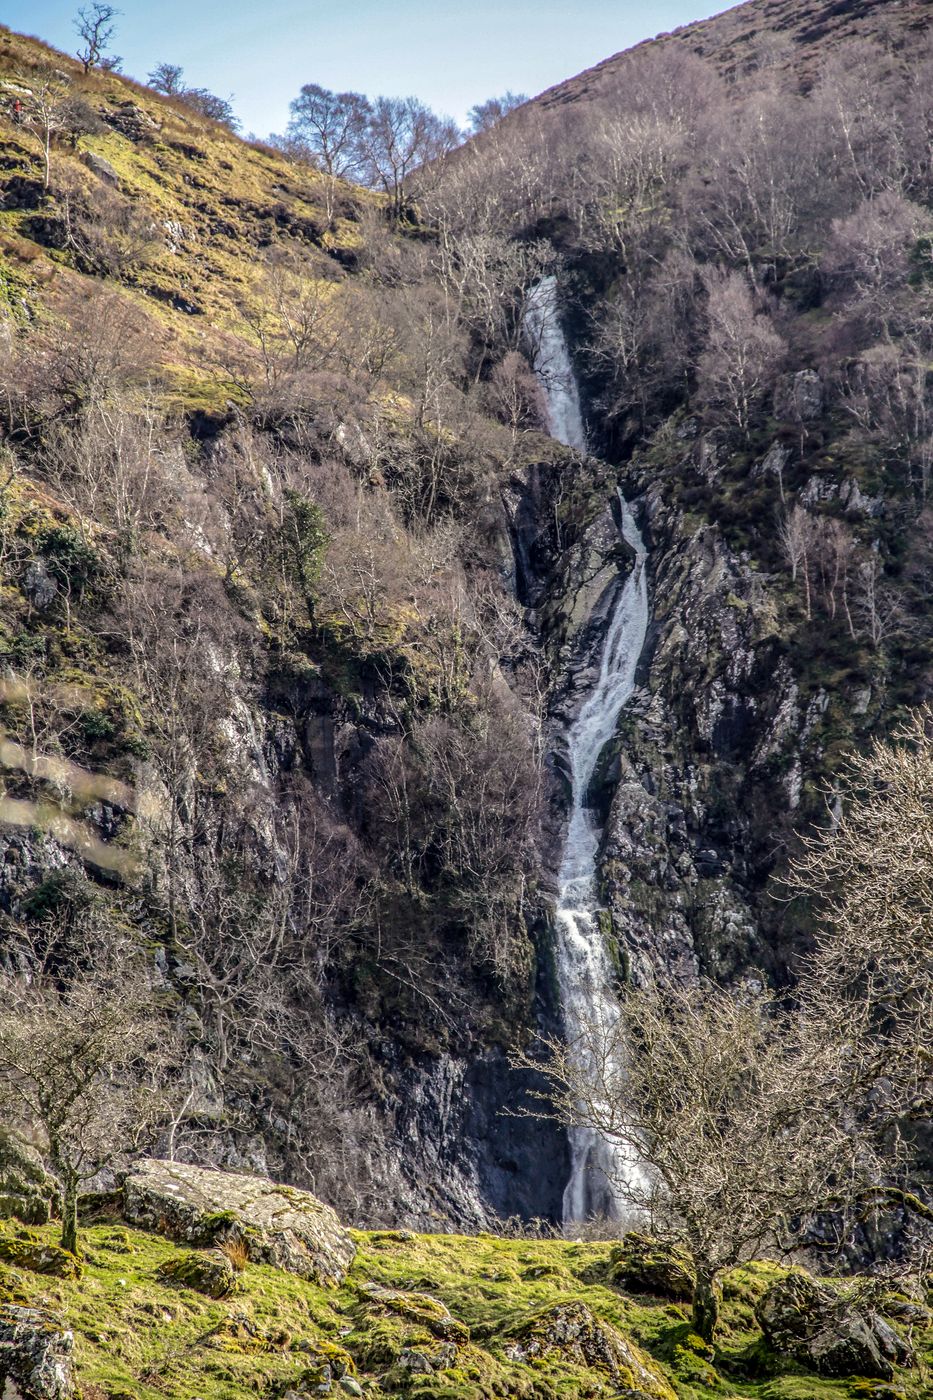

United Kingdom Aber Falls
Famous waterfall in North Wales.
Photography Tips
Capturing that beautiful, silky-smooth effect of flowing water in a waterfall photo can be stunning. Here’s a step-by-step guide to help you get that blurred water look:
Gear and Settings:
1. Tripod: Essential for keeping your camera steady during long exposures. Any slight movement can blur the entire image.
2. Camera Settings:
- Shutter Speed: Set your camera to a slow shutter speed. Typically, between 1/4 second and several seconds, depending on how fast the water is moving and how much blur you want.
- Aperture: Use a small aperture (higher f-stop number, like f/11 to f/16) to ensure a greater depth of field and keep more of the scene in focus.
- ISO: Keep it low (ISO 100 or 200) to avoid noise in the image.
3. Neutral Density (ND) Filter: If you’re shooting in bright conditions, an ND filter will reduce the amount of light entering the lens, allowing you to use longer exposures without overexposing the image.
Steps to Take the Photo:
1. Find the Right Composition: Before setting up your tripod, walk around and find the best angle and composition. Look for interesting elements like rocks, plants, or the waterfall’s pool.
2. Set Up Your Tripod: Once you’ve found the perfect spot, set up your tripod to keep your camera steady.
3. Focus: Manually focus on a point where you want the sharpest detail. If your camera has focus peaking, use it to ensure everything you want in focus is sharp.
4. Use a Remote Shutter Release or Timer: To avoid camera shake, use a remote shutter release or set a 2-second timer on your camera.
5. Take Test Shots: Start with a moderate shutter speed (around 1 second) and take a test shot. Check the exposure and the amount of blur. Adjust the shutter speed as needed to get the desired effect.
6. Adjust for Light: If your image is too bright or too dark, adjust your shutter speed, and aperture, or use your ND filter accordingly.
Additional Tips:
- Weather and Timing: Overcast days are perfect for waterfall photography because the diffused light reduces harsh shadows and highlights.
- Polarizing Filter: This can help reduce reflections on the water and enhance the colors of the foliage.
- Bracketing: Take multiple shots at different exposures to ensure you get the perfect shot. This is especially useful if you plan to combine images in post-processing.
Post-Processing:
1. RAW Format: Shoot in RAW to have more flexibility in post-processing.
2. Editing Software: Use Lightroom or Photoshop to adjust the exposure, contrast, and color balance. You might also need to sharpen the image slightly after the long exposure.
Remember, practice is key. The more you experiment with different settings and conditions, the better your waterfall shots will become. Enjoy your shoot!
Travel Information
There is a car park, but it is quite a walk to the falls.
Spot Type
Outdoor
Crowd Factor
A decent amount of people
Best Timing
Fall
Sunrise & Sunset
06:04 - 20:25
| current local time: 07:05
Photo Themes
Waterfall
Locations
Wales
Gwynedd
North Wales
Abergwyngregyn
Aber Falls


Spot Comments (0)